How to Set Up Waiting Lists
What are waiting lists?
The waiting list option on OnlySales is a feature that allows you to add leads gradually from a large list. It is designed to help you send marketing messages or contact potential customers in smaller batches over a period of designated time.
Instead of sending messages to all leads at once, the waiting list option enables you to schedule and send messages in increments or at certain intervals. You can specify the number of leads you want to add at a time and set the time interval between each batch.
For example, if you have a list of 40,000 leads, you can choose to add 100 leads at a time every 30 minutes on specified days. This means that the system will automatically add 100 leads to your active list every 30 minutes, allowing you to send messages to them gradually rather than overwhelming both your leads and your own resources.
By using a waiting list option, you can avoid spamming a large number of leads all at once, increase the efficiency of your campaigns, and prevent from feeling overwhelmed by receiving too many messages at back at once giving you a good amount of time to be able to respond back to each contact effectively.
This feature is helpful if you want to avoid spending time uploading small CSV's throughout the week and can just upload one large one instead and just have them continue to send out until the full list is completed!
How do I set-up my waiting lists?
- To get started with creating your waiting list for your workflows, you would need to have your workflows completed first! (If you do not have your workflows set-up just yet please refer over to the How to Create Workflows article before continuing on this article. In addition, if you want some ideas on how to set-up your messages in your workflows, here are some tips too! )
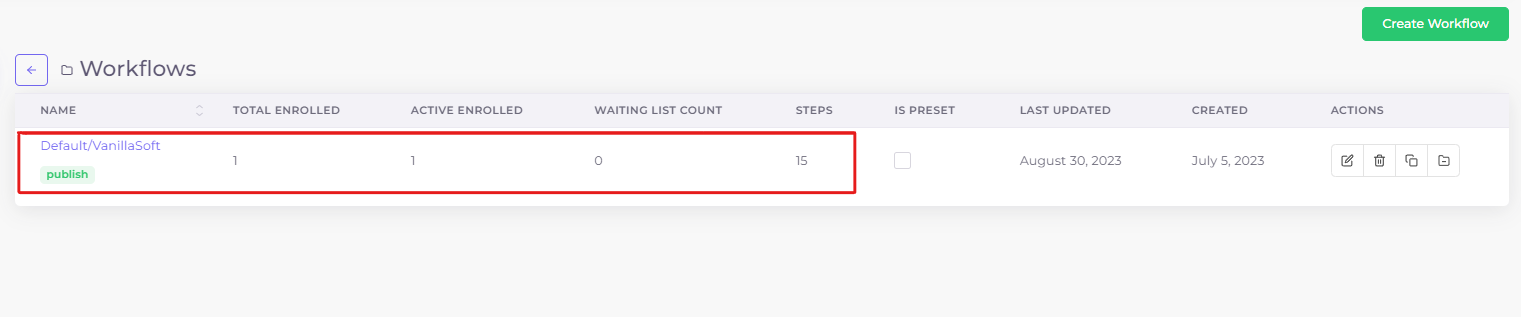
- Click on the "Workflows" tab in the left-hand menu.

-
Once you are on the workflows page, click into the workflow you want to use for your waiting list.


-
Now, click on the "Settings" tab located in the bar of the workflow.


-
While on the settings tab, scroll down to the "Waiting Lists" toggle switch.


-
Click the toggle switch to turn on the options for waiting lists, it will give an example time frame for it, click on the edit button to modify the time and increments.


-
Once you click on the edit button, a window will pop-up labeled frequency. This is where you can set-up what days you would want messages to go out, the time frame, along with how many leads a minute. In this example, this waiting list is set-up to send out messages Monday - Friday from 8:00AM - 5:00PM EST. adding in 1000 leads every 45 minutes.
You can set this how you would prefer to any time period that works best for your business, once you are satisfied with your selection, click on the "Save" button in the bottom right-hand corner.

-
Once it is saved, you can click out of the frequency window and the times you selected will appear like this:


Keep in mind: If you have your waiting lists set-up and it's for specific days, even if it's designated in the waiting lists, you also have to have a time window option on to ensure that they are sending out. If the time window option is not selected, then the leads added to the waiting lists may not send out, since there isn't a main time on the entire workflow to designate any days. We would recommend having the time window on and have your normal days/time selected for your workflow settings, and then for your waiting lists it can differ from the original time window for it's own but it would need that main basis first on days selected.
In this example: The time window for the entire workflow is 8:00AM - 9:00PM EST. but the time window for the waiting lists knows that leads that are added to this option upon upload will only send out between 8:00AM - 5:00PM EST. instead to match the frequency you had set-up. This is so you can upload directly to the workflow and still have a time window set for that and then for your waiting lists it has it's own so both can work separately!
- You now have your waiting lists set-up and can confirm that preview for it, if you are content with your selection, make sure your workflow is showing published then click on the "Save" button in the top right-hand corner.

That's it! You now have your waiting lists set-up!
How do I add leads to my waiting lists?
- Click on the "Uploads" tab in the left-hand menu.

-
While you are on the uploads page, click on the "Upload CSV" button located at the top left-hand side of the page.


- Once you start uploading your CSV and get to the third step prior to fully uploading it, you will have the options to select a workflow or waiting list, make sure to select on the "Add to Waiting List" button, then select the preferred waiting list you want to use for this upload. Once you confirm all of your settings are correct, click on the "Submit" button in the bottom right-hand corner:

Congrats! You know how to effectively use your waiting lists!